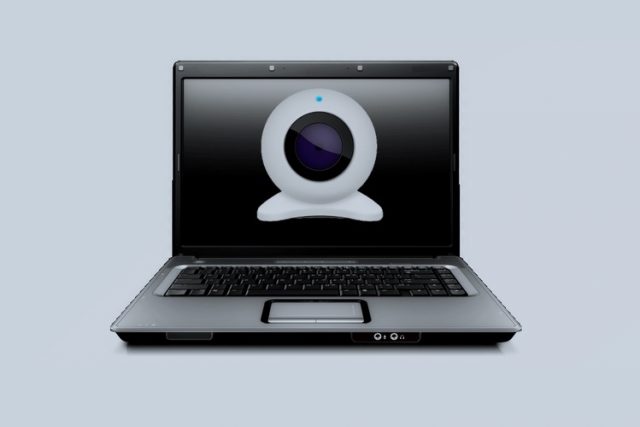
With the advancement of technology and the mobile-driven world, individuals and companies now realize the importance of videoconferencing. This is particularly true for companies whose employees work from home and at remote workstations. Besides, you may want to talk with your pals while on live video coverage, which means that you will have to install a webcam on your laptop if it doesn’t include the in-built webcam version.
We’re glad to help you install, test, and use your newly installed webcam.
Webcams have made it possible to hear and see our co-workers, friends, and family miles away in real-time. You can see their reactions and emotions on the screen. So, if your PC doesn’t include a webcam, you can consider purchasing a new one.
Here’s How To Use The Webcam On The Laptop
Connect using USB Cable. Modern webcams are designed to be universal, which means that they can run virtually on any computer. To install a webcam on your computer, kindly follow these simple steps.
Turn on your PC and confirm that your computer’s operating system is running.
Most modern webcams come with a USB cable attached to them. You’ll be required to plug this USB cable into any of the available USB ports on your computer. Typically, you’ll find USB ports at the back of your desktop computer or the sides of your laptop. Ensure you’re running a newer version of Windows 10 or Windows 8 since they should recognize your webcam once you connect it. Besides, these drivers should run automatically and allow you to use the webcam. However, if the operating system cannot automatically install the webcam drivers, you can seek further information on how to install such drivers from the manufacturer’s website. Download and install such drivers on your laptop. In some cases, your webcam may come accompanied by a CD containing the installation software.
You can add more features to your webcam by installing this software.
How To Install Your Webcam Software
You’ll be required to place your webcam at the same height as your face when seated and probably in the front. The ideal location to mount your webcam is perhaps at the top of your laptop monitor.
Most modern webcams are designed to sit perfectly on the top of your laptop’s monitor. Some come with an adjustable clamp that attaches itself against the monitor’s back to secure the webcam. Ideally, place your webcam at the top of your laptop monitor and regulate the clamp to the desired results. Once you’re done, the webcam should now cover and point your entire face. Webcams with adjustable clamps are far much easier to use.
How To Test Your Webcam Performance
After installing the webcam on your laptop, you need to test if it is working correctly. Fortunately, you can do your webcam trying much easier at devicetests.com. Here are simple steps you should follow. If you’re running on Windows 10, Windows 8, or Windows 7, then the Camera app can help you test your built-in webcam. Follow these steps to run the Camera app.
Click on the start icon on the screen or press the Home button, Windows key. Type “camera” in the Search box. The Camera app will automatically run hence turning on the webcam feature. You will be able to see a display of your live video on the screen.
How To Test Webcam On Your MacOS Laptop
If your laptop is running on macOS, you can quickly test your webcam app through the Photobooth app. This app is usually located in the application folder. You can take videos and photos using the attached webcam.
How To Test Webcam On Your Linux Laptop
If your computer is running on Linux, you can also test your webcam through the cheese function. You’ll find it in package managers. For instance, if you want to install the webcam on Ubuntu, Linux Mint, or Debian, you can use apt to install it.
Here’s How To Use Your Webcam
You need to enable the videoconferencing software. This is after you’ve installed and connected the webcam software on your laptop. You can streamline videos of yourself to anyone across the globe. Several video conferencing software is available today, such as Skype, Microsoft Teams, Zoom, and WebEx. You’ll have to activate your videoconferencing software through a button, and it looks like a video camera. Then click the “Start Video” to begin sharing your live video with your audience.
Follow Technoroll for more informative articles.
Editorial Staff of the TechnoRoll, are a bunch of Tech Writers, who are writing on the trending topics related to technology news and gadgets reviews.


